Available dimensions
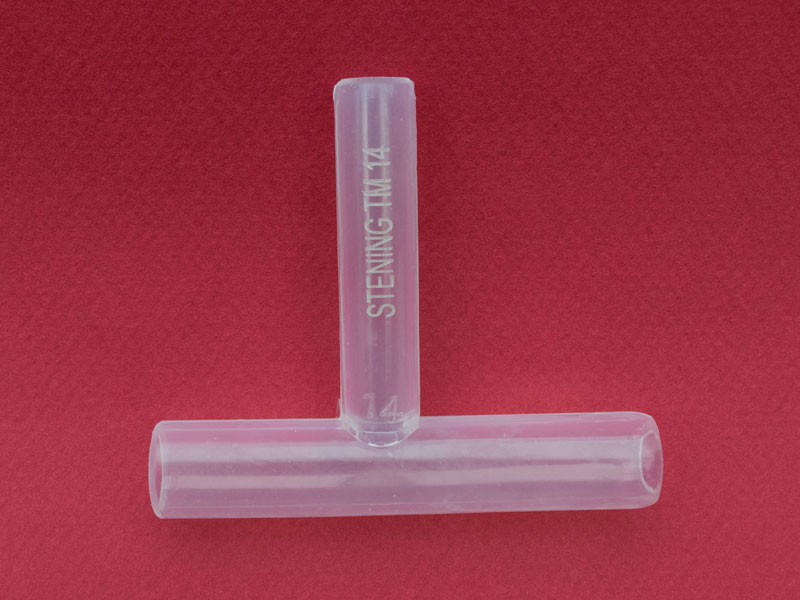
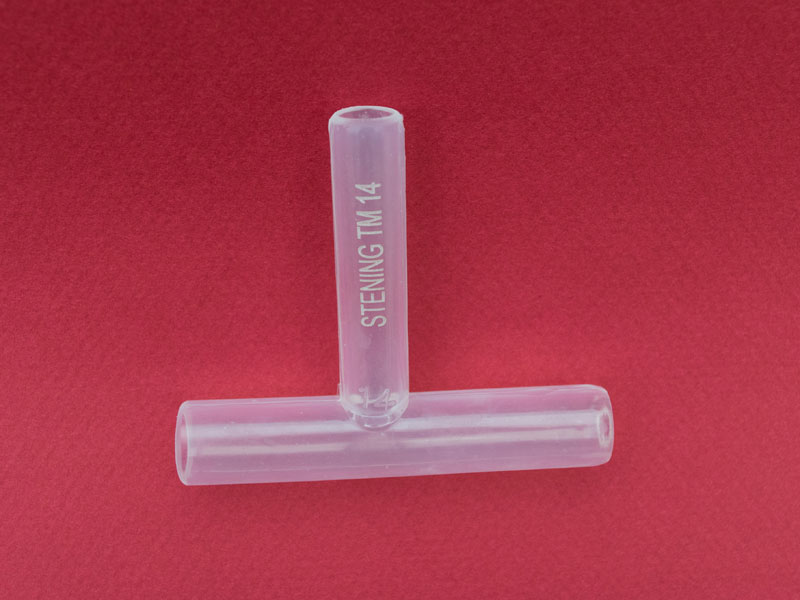
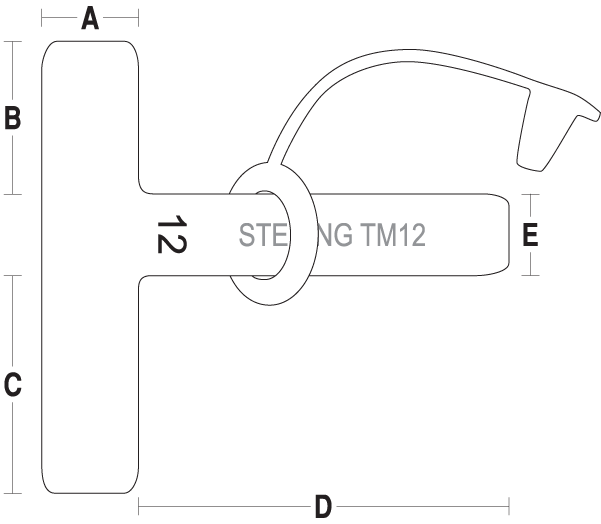
The Tracheal T-Tube is offered in six sizes (TM11 to TM16). The printed number indicates the external diameter of the intratracheal limbs. Measurements A, B, C, D and E (in millimeters) correspond to the references in the diagram.
| Code | A | B | C | D | E |
|---|
| TM11 | 11 | 20 | 29 | 50 | 11 |
| TM12 | 12 | 23 | 32 | 50 | 11 |
| TM13 | 13 | 24 | 33 | 55 | 11 |
| TM14 | 14 | 26 | 35 | 59 | 11 |
| TM15 | 15 | 26 | 36 | 63 | 11 |
| TM16 | 16 | 27 | 37 | 66 | 11 |
Measurements expressed in millimeters. For specific inquiries about sizes or instruments, contact us at (+54) 11 4553-5070 or (+54) 11 4551-2333.
Placement
The procedure is usually performed in the same operating room and during the general anesthesia arranged for the tracheal repair, although it can also be carried out under local anesthesia. Two curved forceps and a suction system are required.
- Fold the end of the lower limb of the T-tube to facilitate its introduction through the tracheal stoma; the curved forceps will keep the tube in the folded position.
- Introduce the assembly into the trachea through the tracheostomy opening.
- Secure the T-tube by its external limb with the second forceps, avoiding any unwanted displacement.
- Move the T-tube until its upper limb enters the trachea and lodges inside it, occupying the tracheal portion adjacent to the vocal cords.
- Apply the ring with the cap on the external limb: thread the ring onto the forceps, grasp the external limb of the tube and slide the ring until it is close to the skin of the neck, placing a gauze between the skin and the ring. Occlude the external limb with the cap provided.
Tape method
A very ingenious and useful resource is to use a tape about 80 cm long, which can be improvised with a narrow bandage. It must be introduced through the end of the external limb of the T-tube and guided through its interior so that it exits through the upper tracheal limb. Then this end of the bandage is taken and, with the help of a forceps, introduced through the tracheostoma until it reaches the interior of the trachea. A second long forceps is introduced inside the bronchoscope until it reaches and grasps the end of the tape left inside the trachea and, by pulling on it, the tape then travels through the interior of the bronchoscope or tracheoscope until it appears at its proximal end.
As always happens, the lower limb of the T-tube lodges easily in the distal trachea, but the upper limb may remain folded or have difficulty ascending the trachea toward the glottis. By tensioning the tape, holding it by its ends, the limbs of the tube will easily align following the direction the tape occupies, accommodating the tube safely. Additionally, the tape method prevents any accidental displacement of the tube during the implantation maneuver.
Removal technique
The tracheal T-tube can be removed easily by grasping it by its external limb and pulling. This traction folds its internal limbs, which come together and leave the trachea through the stoma, following the direction of the force pulling it from the outside. Removal may be performed because the treatment time has been completed or to replace the tube.
A more delicate extraction can also be carried out with a straight laryngoscope or a tracheoscope which, introduced into the airway, allows the end of the tube to be visualized. Grasp the tube through the tracheoscope while an assistant cuts the external limb with scissors at the point closest to the trachea; then the tube is extracted with the forceps through the channel of the tracheoscope. Other forms of insertion and removal are possible depending on the operator’s experience and preferences.
Anesthesia through the tube
Anesthesia through the Tracheal T-Tube is possible. The upper limb must be occluded to prevent the loss of anesthetic gases, which can be achieved by inflating the balloon of a catheter that, introduced nasally, crosses the vocal cords and lodges inside the upper limb of the Stening® “T”. Since the tube lacks an inflatable balloon, positive-pressure ventilation may cause a variable loss of the administered air volume, which will depend on the greater or lesser space between the wall of the tube and the trachea.